Submitting
Regardless of how you choose to complete the assignment, you MUST submit the file you worked on to Canvas.
If you’re attending the alternate tutorial (see schedule), please submit your .PY file and make sure your PM has recorded your attendance.
If you’re submitting in-class, make sure to check-in (there will be one question called CHECK-IN Q only available for the first 7 minutes of class) and check-out (there will be a three question survey called CHECKOUT SURVEY only available for the last 10 minutes of class) using PollEverywhere with your location verified.
If you’re submitting out-of-class, make sure to submit your .PY file to be graded. Take extra care to double check you've followed the instructions!
Learning Objectives
The goal of this tutorial is to get you comfortable with conditionals and loops. Both of these types of statements are very powerful, so getting comfortable with them is essential (and will help you with Exercise 5). We’ll focus less on syntax in this tutorial and instead spend our time thinking about the actions that might go on inside of loops that are already set up for us.
Stuck in an infinite loop?
When you write an infinite loop, like in in the below example, Python will keep running the loop until it literally can’t anymore. You can (normally) cancel out of the program by going back to your Interpreter window and hitting Ctl+C or go the Shell menu at the top of the screen and select Interrupt Execution.
Note: If you're on a Mac, infinite loops that only include print statements will actually cause more recent macOS versions to appear to “lockup.” If this happens, you have to “force quit” IDLE by holding down the
COMMAND,OPTION, andESCAPEkeys on your keyboard at the same time and then selecting IDLE in the resulting menu.
while True:
    print('Hello! How are you doing today (this will go on forever)?')

print('Program terminated')
Part 0. Animating Mario
In the pre-recorded lecture we wrote a complete pixel_art function that allowed us to draw any pixel art that was stored as a list of tuples, with each inner element just representing a color. In this assignment, we’re going to leverage this, along with loops, to make Mario run across the screen!
But…how do we animate something? Well, think of a flip book:
A moving image, is just a series of still-images / drawings flashing by at a certain pace. So really, an animation is just a series of repeated steps:
- Draw a picture
- Erase the picture
- Draw a slightly different picture
- Erase the picture
- Draw a another slightly different picture…
- And so on…
If only there were a way to take a series of small steps in our program and repeat them over and over again.
“But wait…there is! Loops!!!”” you’re screaming out loud as you read this assignment description.
Part 1. Getting Ready
Download these two starter files, rename the template file to tutorial4.py, and make sure they’re both in the same folder on your computer (preferably one named Tutorial 4):
| Tutorial Starter File | Tutorial Module File | Module Documentation (Link) |
|---|
Now in the pre-recorded lecture we had just one single “pixel art” that represented mario. Here we’ve provided 3 different Marios that we can draw.
Open up tutorial4.py and run it. We’ve got a “static” (not moving) Mario drawn on the screen using pixel_art. At the top of our tutorial4.py file we import these designs and functions into to our program, so you can use that stuff inside our file.
Make sure to take an extra special look at the pixel_art function. Take careful note of each of its inputs!
Find the setup function definition in the template file. This is the part of the file that controls what to draw on the screen. Inside that function definition, modify the function call to pixel_art to draw these other two alternate designs (try one at a time; note that your mario might appear in another location). Make sure you can generate each different mario before moving on to the next part.
What do the different Marios look like?
| mario_0 | mario_1 | mario_2 |
|---|---|---|
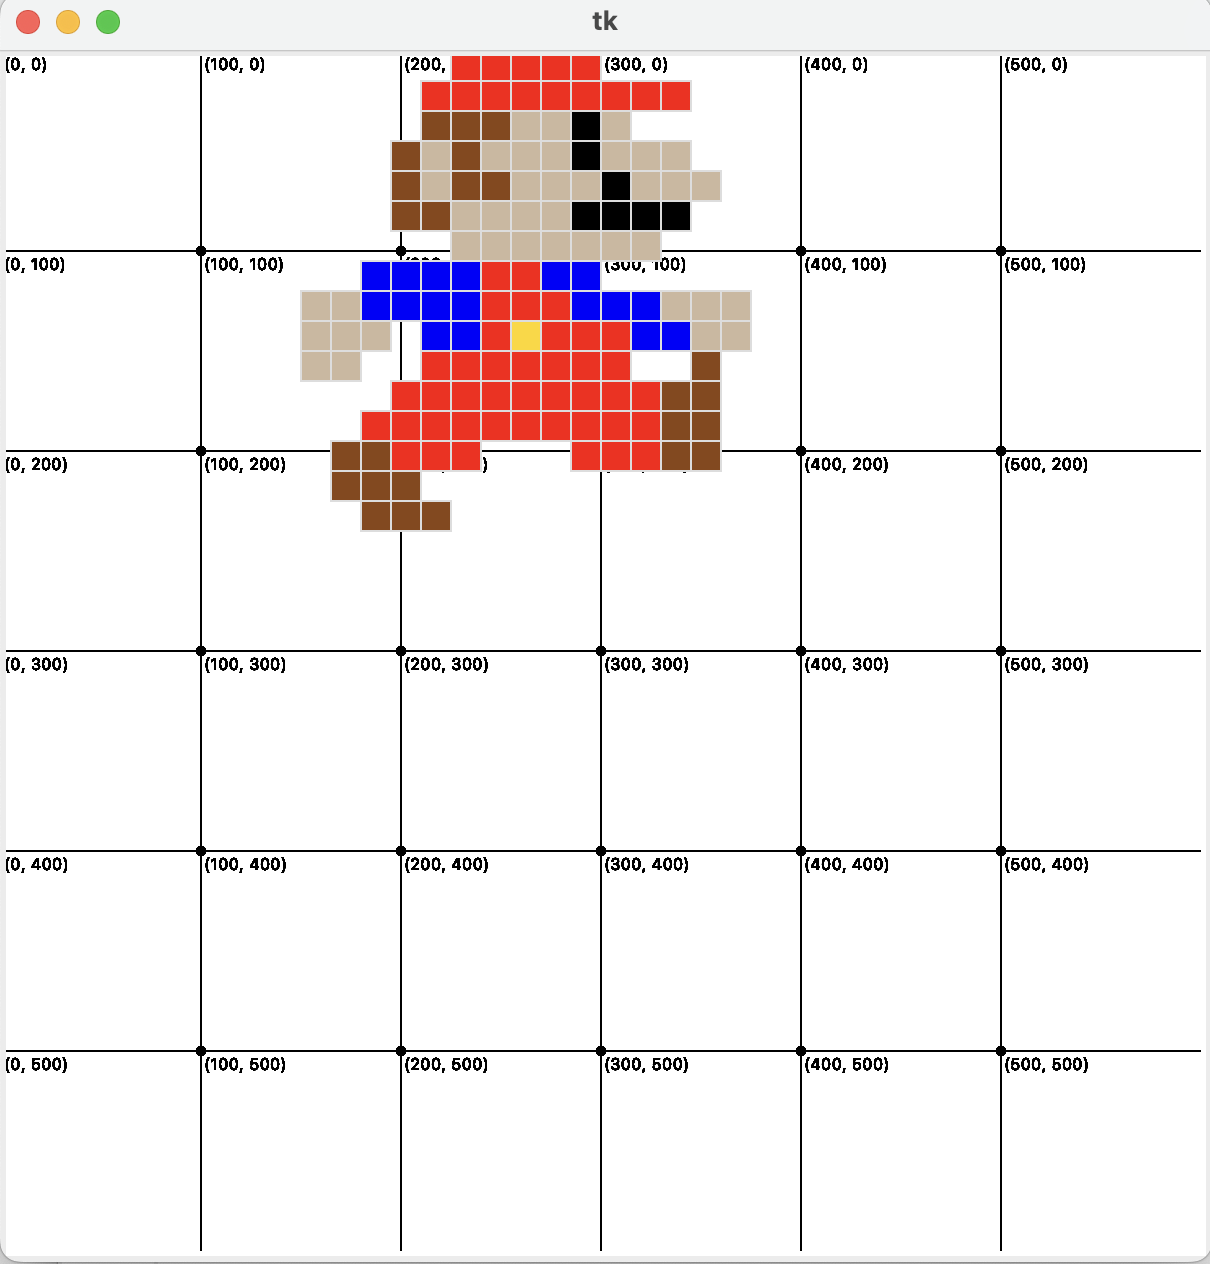 | 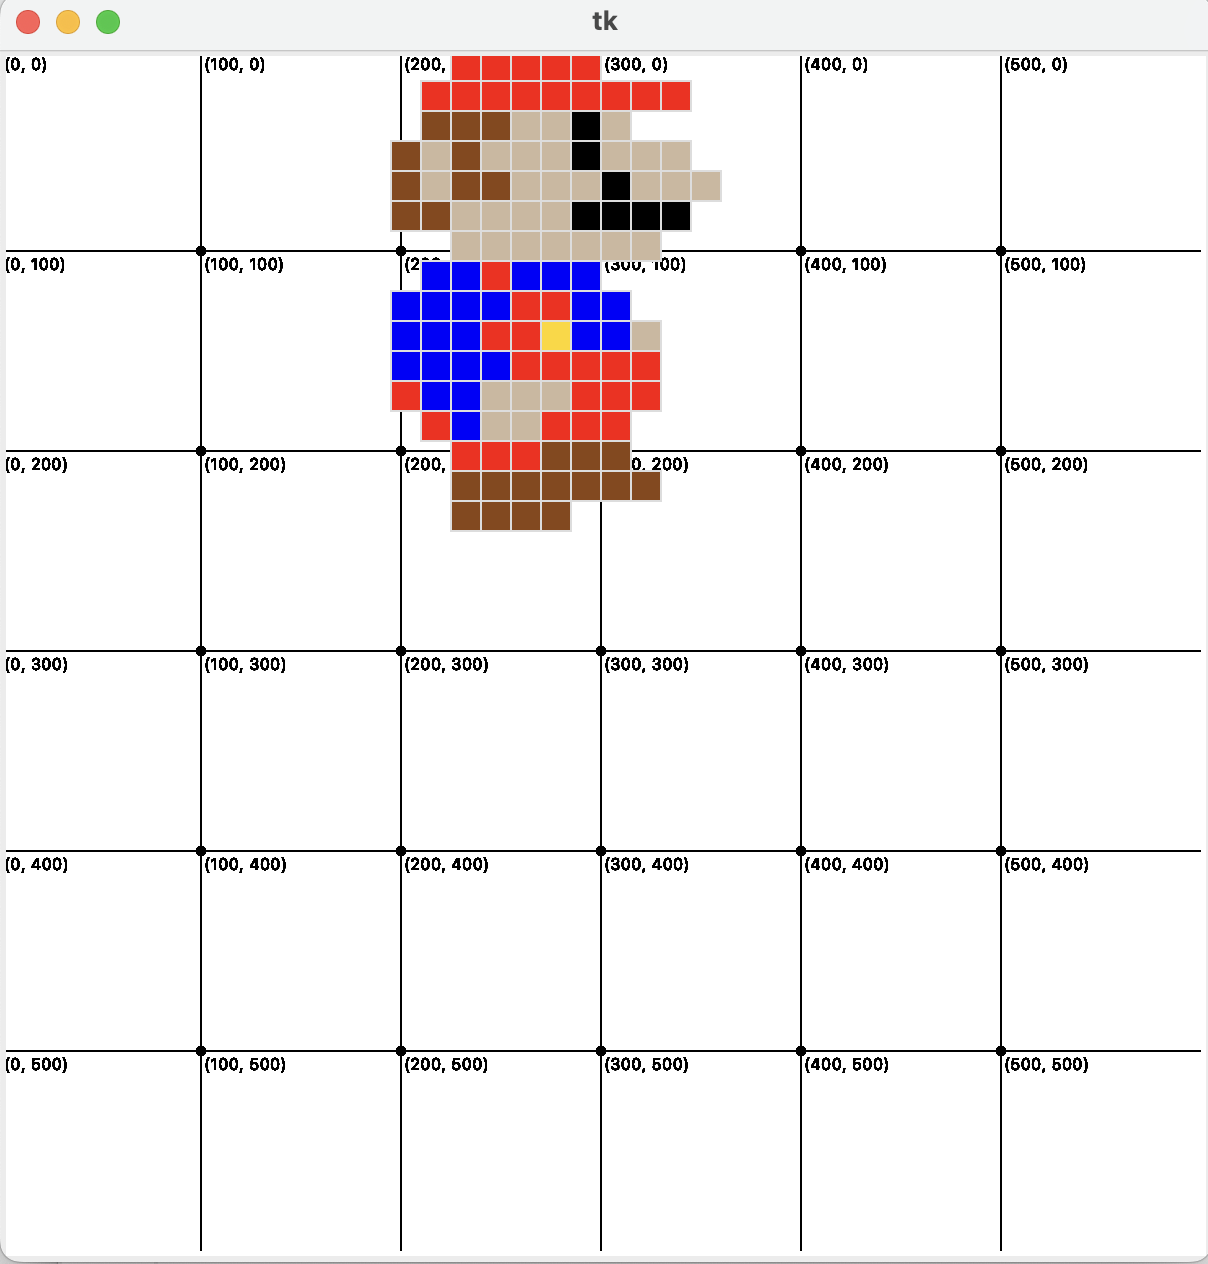 | 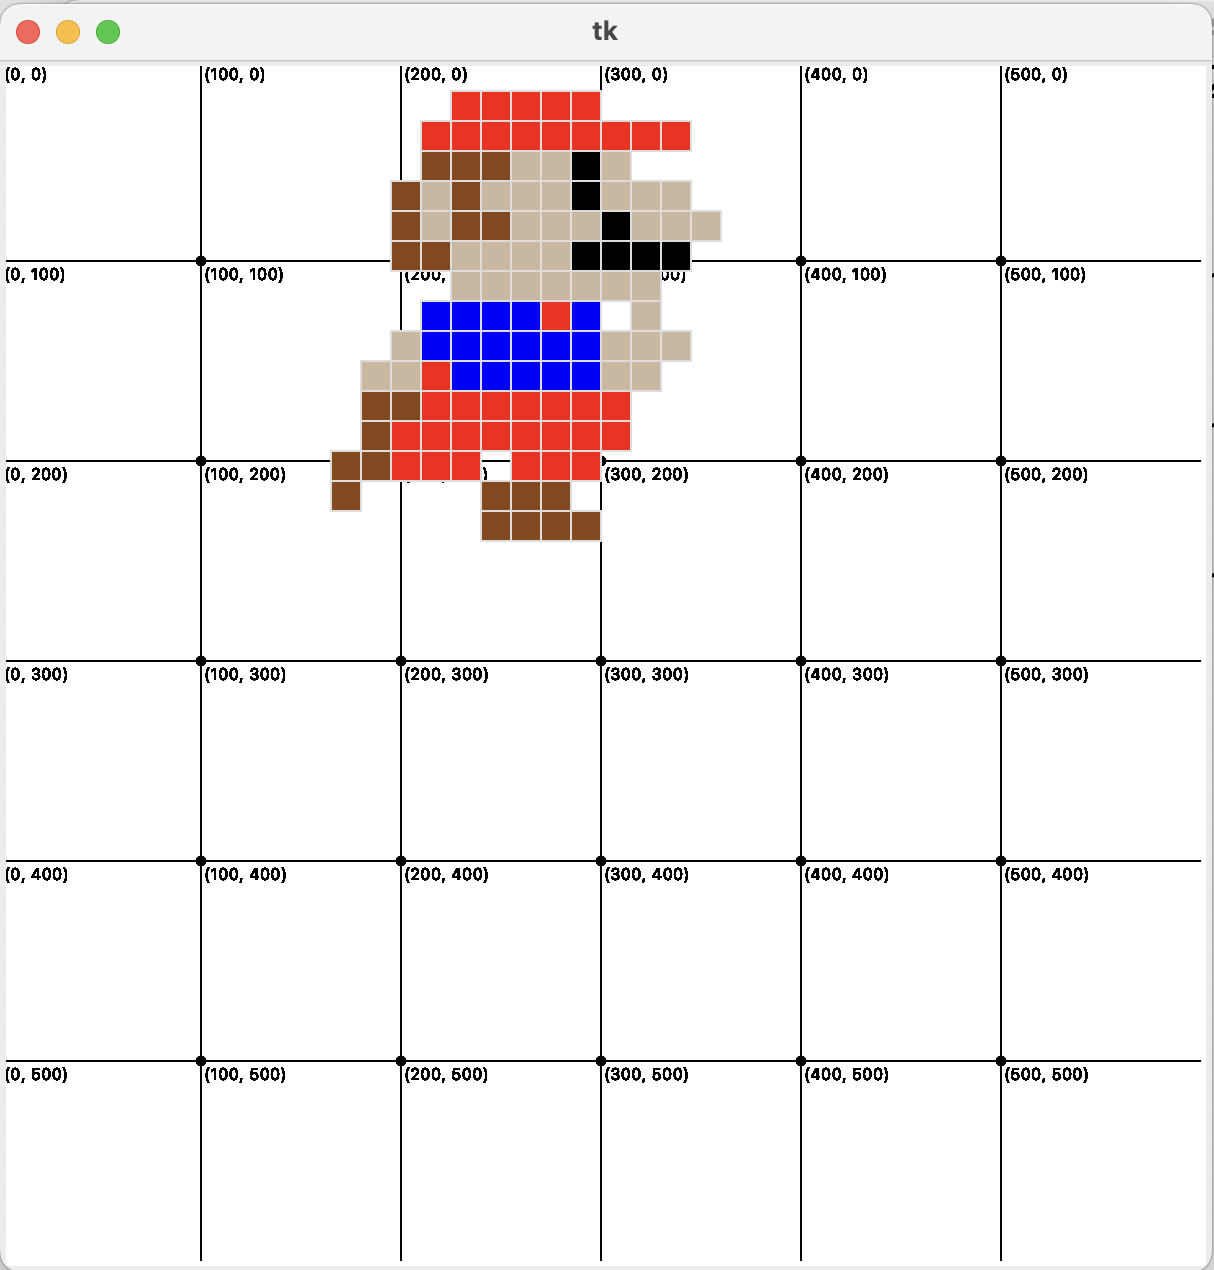 |
Part 2. Erasing Things
In order to make a flip book, we essentially need to know how to erase something. In cs110_t4 there’s a function called delete that allows us to delete stuff from our screen that we can just call in our template file. It takes one required input, namely a string that explains what to delete. Find the call to the delete function inside of GO. Right now it deletes everything from the screen at the 10 second mark (i.e. when ticks == 10 it deletes everything via the tag "all").
What if we wanted to ONLY delete Mario and not our beautiful grid lines? If you take a look in cs110_t4, you’ll notice that there’s an extra optional parameter that’s been added to pixel_art, row, and square called tag (it expects a str). This tag is a system that allows us to assign a name to the things we draw. For instance, the function that creates the grid on the window tags all of its drawings with the "grid_line" name.
This means we could modify our call to pixel_art to pass a value in for this new optional parameter. One logical name might be "mario".
Once we add that additional input to pixel_art, our canvas knows that our drawing is actually called "mario". Now, modify the call to delete to target "mario" rather than "all" things on the screen. If your program is working, then after 10 seconds ONLY mario will disappear from the screen while the grid will stay there. Once this is working, comment out this conditional (the header and indented block) by adding a # to the beginning of each line of it.
Part 3. Introducing the Animation Loop
Scroll down to the very bottom of the file. You’ll see a while loop with a condition that’s always True (aka, an infinite loop). This means that when you run the program, it will call the go function and briefly pause using the time module. When it’s done…it’ll call it again and briefly pause, and again…and again… Additionally the program keeps track of how many times go has been called in a global variable called ticks.
All of our work will be in the
That means to animate our mario, we just need to write the body of the function go to explain to python how to continuously update (i.e. where do we draw the mario this time) and delete the mario image (in this tutorial, we don’t have to put ANYTHING in the setup function). Here’s what we need to tell our go function to do:
- Delete the mario currently on the screen
- Draw a new mario (slightly shifted to the right)
That’s it!
So first, at the top of the go function’s body, call some function that deletes our first mario named "mario" that we drew inside of SETUP.
Now, we need to teach it how to draw a new mario, slightly to the right of where the first one was. In other words, the more ticks we have gone through the more to the right (increase on the x-axis) we need to draw our mario. On tick 0, we want to draw mario at “0” on the x-axis (5 * 0). On tick 1, we want to draw mario at 5 on the x-axis (5 * 1). Then by 10 (5 * 2). Then by 15… Then by 20… If only there was a mathematical operation that allowed us to represent the relationship between the value of ticks and the x-value we want to draw mario at…
Once you’ve got that figured out, modify the call to pixel_art so its x-coordinate uses that relationship and try out your new program. You should see mario “skate” across the screen!
What should Winter Olympics Mario look like?
Part 4. Generating Frames
To make this a little more “animation” like, we want to draw 3 different versions of Mario rather than just the same version of mario shifted a bit each time. Remember those other mario versions from Step 1? What we want to do is draw mario_0, then mario_1, then mario_2, then mario_0, then … To do this, use an if-elif-else conditional along with counter so that the mario version we draw changes each iteration. This is a slightly more advanced version of what we talked about last week:
if condition_1:
    # something to do if condition_1 is met
elif condition_2:
    # something to do if condition_1 is NOT met but condition_2 IS met
else:
    # something to do otherwise
Hint 1
Hint 2
This would draw a mario with the
Once you’ve successfully implemented the conditional, you should see Mario smoothly animate across the screen. Great work!
What should Summer Olympics Mario look like?
Part 5. Battle of the Bros
Your last task is to make a SECOND mario also animate across the screen below the first who runs from right to left.
Hints!
- Remember, you'll need to assign this mario a unique tag (maybe
"luigi") if you want it to be animated differently than our first mario. - Before we were moving left to right so we needed to add to the x-position. Now we're moving right to left. What can we do differently?
- Rather than having 3 separate
pixel_artcalls, try setting a variable calledstyleto be equal to the three mario versions in the if-elif-else block, and then use that variable in place of the mario design in the call topixel_art. - Mario facing the wrong direction? Try using the
mirrorfunction. It takes just one input, atagwith a shape to flip.
Here’s approximately what the final product will look like (depending on how far you move each mario at each step):
Extra time?
Start working on Ex 5! It’s a little bit different than this mario example.